
North American Bowling News
How to Build Your Own Bocce Court
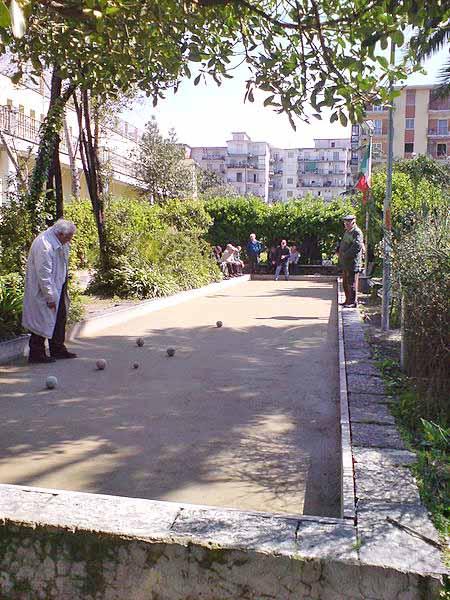 |
| Photo courtesy of Wikipedia |
So you've finally decided to take the first step in making a bocce court. Building your own bocce court can be a very rewarding project. The best part of all is that when it is all said and done, you are left with your very own court to play whenever you want.
The first question that people generally ask is how big they should make the court. This depends on several factors including the size of your lawn and how much of that space you are willing to sacrifice for the great game of bocce. A good bocce court can be built with the dimensions 12' x 60'. However, if your yard has a lot of space you might consider building 13' x 91'. The reason for this is that this size court can accommodate all variations of bocce play. Walls on all four sides of the bocce court are a definite plus, although not required. If you decide to build walls, be sure to use strong materials that can withstand the impact of the bocce ball. Pressure treated wood or even cement can make great walls for your court. As for the surface of your bocce court, you'll want to make it as flat as possible. Using materials such as clay, limestone, decomposed granite dust, and oyster shell flour will get the job done. Here are detailed instructions on getting you started with your bocce court project:
Lay a 3-5" layer of crushed stone, e.g. pea gravel.
Incorporate 3" of crushed lime stone. This step is critical because it enforces adequate drainage of water.
Add 1-3" of tennis clay. This is the same clay that is used on tennis courts. Alternatively, you can use crushed oyster shells.
Smooth out the entire surfacing using a broom or garden rake. Make sure it is completely flat and all areas of the court are even (no hills or bumps).
Sit back and wait for rain to come. This will allow your court to settle. If you would rather save time, you can also water your court manually. Inspect the court closely for impressions or slopes. Fill these spots in with more clay or crushed oyster shells (depending on which you used).
Tip: a small hole drilled into one of your walls will help you sweep out excess water and other debris.
Initially you will notice that the surface of your court will develop cracks. This is a good sign because it means the court is settling and will prove to be resilient over a long period of time. Use a rolling device or a broom to get rid of the cracks. Over time these cracks will stop appearing. If you don't experience cracking, it may not be a good sign. It might mean that the foundation of your court is too sandy, and may require a lot of attention over time.
How to maintain your court: Just like maintaining a clay tennis court, spread around more clay or crushed oyster shells (depending on which you used) every once in a while. Brush the court so it stays level. The more often you play, the more that you will need to do this.